cPanel's WP Toolkit includes a built-in Security tab that scans every WordPress install on your account for common vulnerabilities and applies hardening fixes with one click. It's a great quick-win for sites that haven't been through a security audit.
What WP Toolkit Security does
The Security tab checks each WordPress install against ~15 known weaknesses and gives you a one-click fix for each. The most useful checks include:
- WordPress version visible. Hides the WP version meta tag from page sources (mild, but reduces attacker recon).
- Default admin user "admin" exists. Renames it to something else.
- Database table prefix is the default
wp_. Changes it to a random prefix. - File editing enabled in WP admin. Disables the Plugin / Theme File Editor (so a compromised admin account can't add malicious code via the UI).
- Directory browsing enabled. Adds
Options -Indexesto.htaccess. - wp-config.php permissions too loose. Tightens to 600 / 640.
- XML-RPC accessible. Blocks
xmlrpc.phprequests (almost always a brute-force vector, rarely needed). - Login URL is the default
/wp-login.php. Optional: change to a custom URL. - Brute-force login protection. Limits login attempts.
Run a security scan
- Log in to cPanel.
- Under the Domains or Software section, click WP Toolkit.
- You'll see all WordPress installs on the account. Pick the one you want to secure.
-
Click the Security button on the install. WP Toolkit opens the Security panel showing your top security risk score, vulnerable components, and applicable security measures.
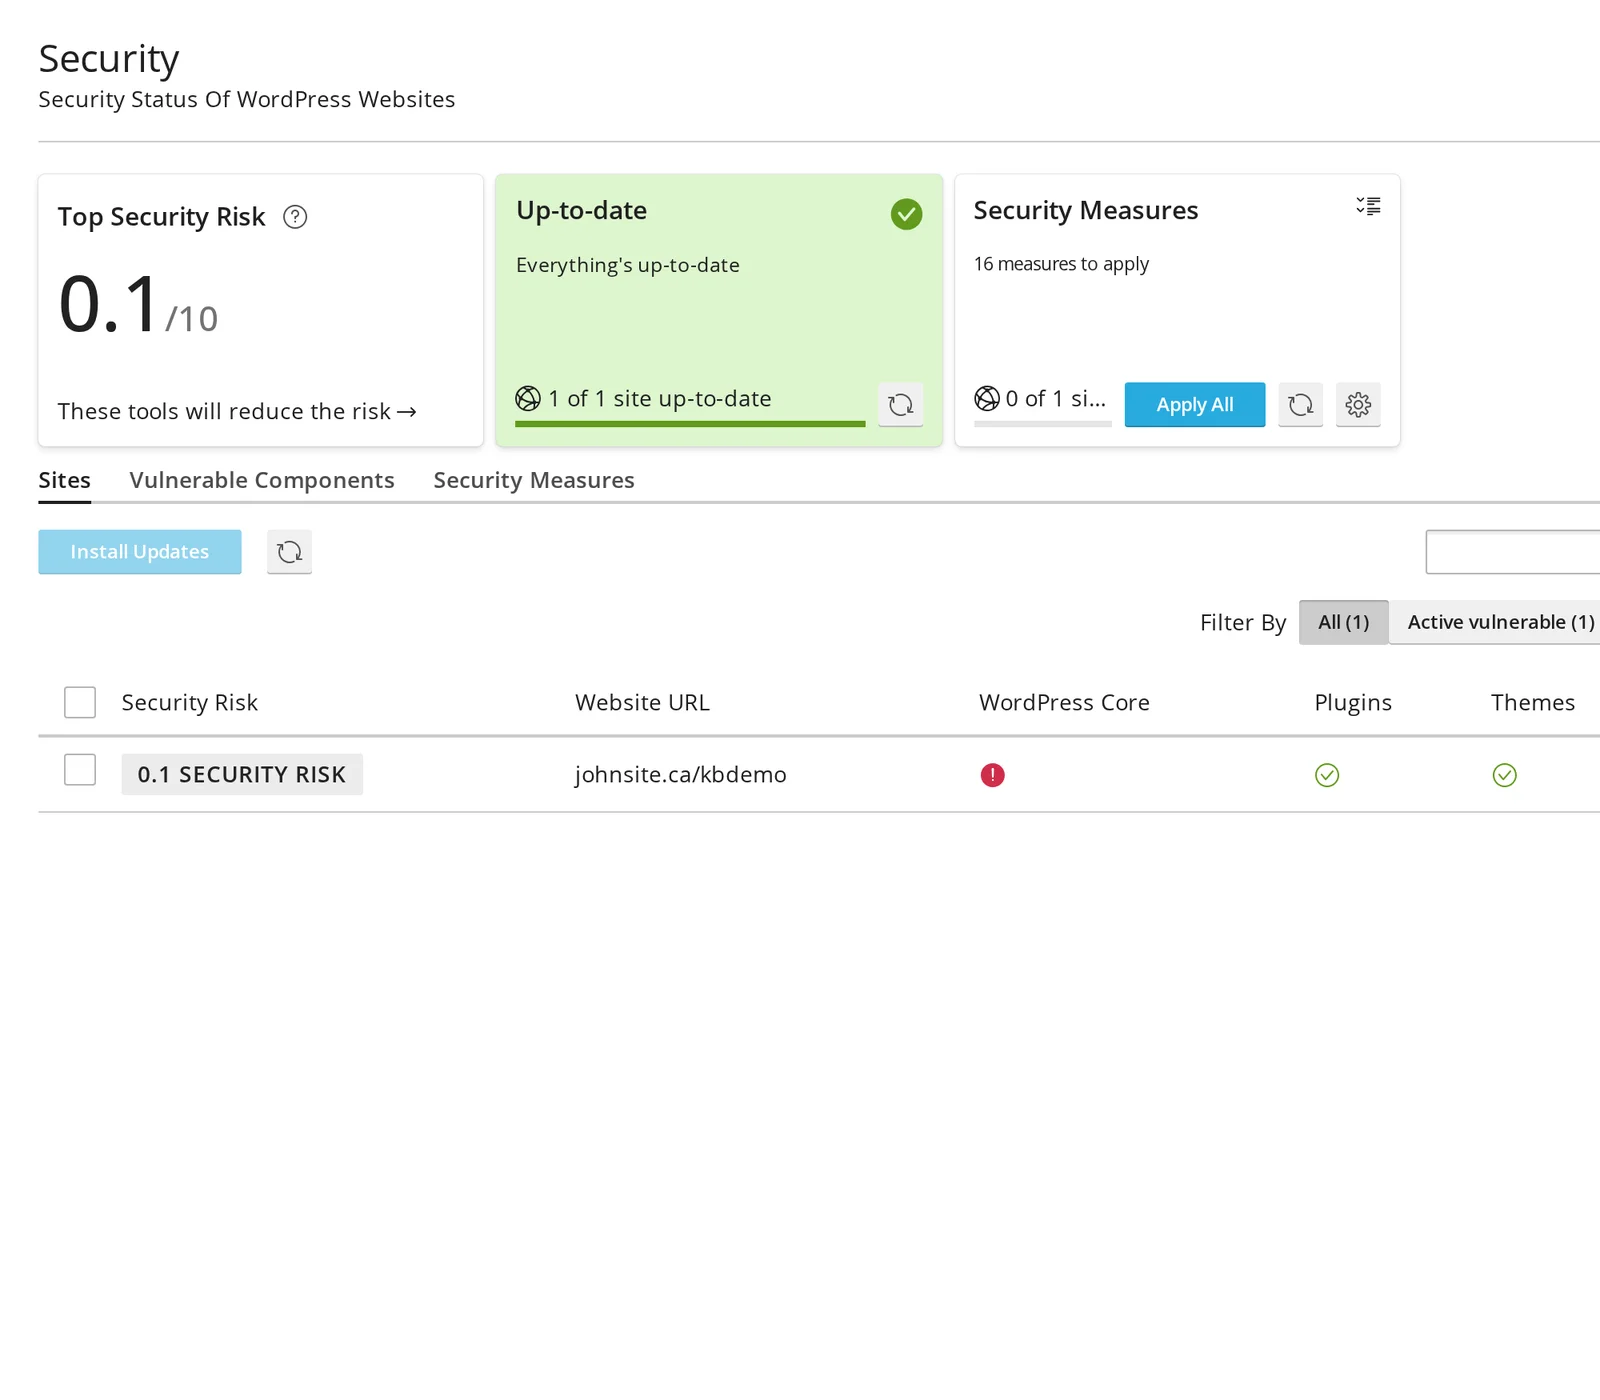
- WP Toolkit shows the status of each check — green for "OK", red for "Vulnerable".
- Either click Secure next to each individual issue, or click Apply All at the top to apply every available fix at once.
What "Secure all" actually does
"Secure all" applies every recommended fix that's currently failing — but only the ones that don't require a manual decision. Some hardening steps need your input first:
- Renaming the admin user — you'll be prompted to pick a new username.
- Changing the WP login URL — you'll be prompted to choose a custom path.
- Restricting WP login by IP — you'll need to provide allowed IPs.
The fully-automatic ones (file permissions, hiding version, blocking xmlrpc, etc.) all apply with one click.
Reverting a fix
If a fix breaks something on your site (some plugins genuinely need xmlrpc or directory listings), you can revert any individual fix from the same Security tab. Click Revert next to the affected item.
Important caveats
Other limits:
- Some checks duplicate plugin functionality. If you already use Wordfence, iThemes Security, or similar, you may already have these protections in place.
- "Block xmlrpc.php" can break legitimate uses. Some apps (the official WordPress mobile app, Jetpack, calendar integrations) need XML-RPC. Disable this fix if those stop working.
- "Change WP login URL" doesn't really hide it. A determined attacker can find the new URL via various fingerprints. It's security through obscurity — useful for cutting down automated bot traffic, not a barrier to a targeted attack.
Other features in WP Toolkit (briefly)
While you're in WP Toolkit, the tabs other than Security are also useful:
- Updates — see all sites, plugins, and themes that need updating; bulk-update with one click.
- Backups — schedule per-site backups (separate from our server-wide ones).
- Clone — duplicate an install (great for staging).
- Copy Data — copy specific tables / files between two installs.
WP Toolkit is included free with all CanSpace hosting plans.
Related articles
- WordPress security hardening checklist
- Common WordPress errors and how to fix them
- Reset your WordPress admin login
Need help interpreting WP Toolkit's findings? Open a support ticket


