Your CanSpace VPS or dedicated server gives you full root access — and SSH is how you get there. This article covers connecting from Linux, macOS, and Windows, plus the few quirks specific to our setup.
What you'll need
- The hostname or IP of your server (in your New Account Information email and in the client area under Services → Manage).
- The root password we provisioned (or your own SSH key if you've already added one).
- An SSH client. Linux and macOS have one built in. On Windows, the easiest options are the built-in OpenSSH client (Windows 10/11) or PuTTY.
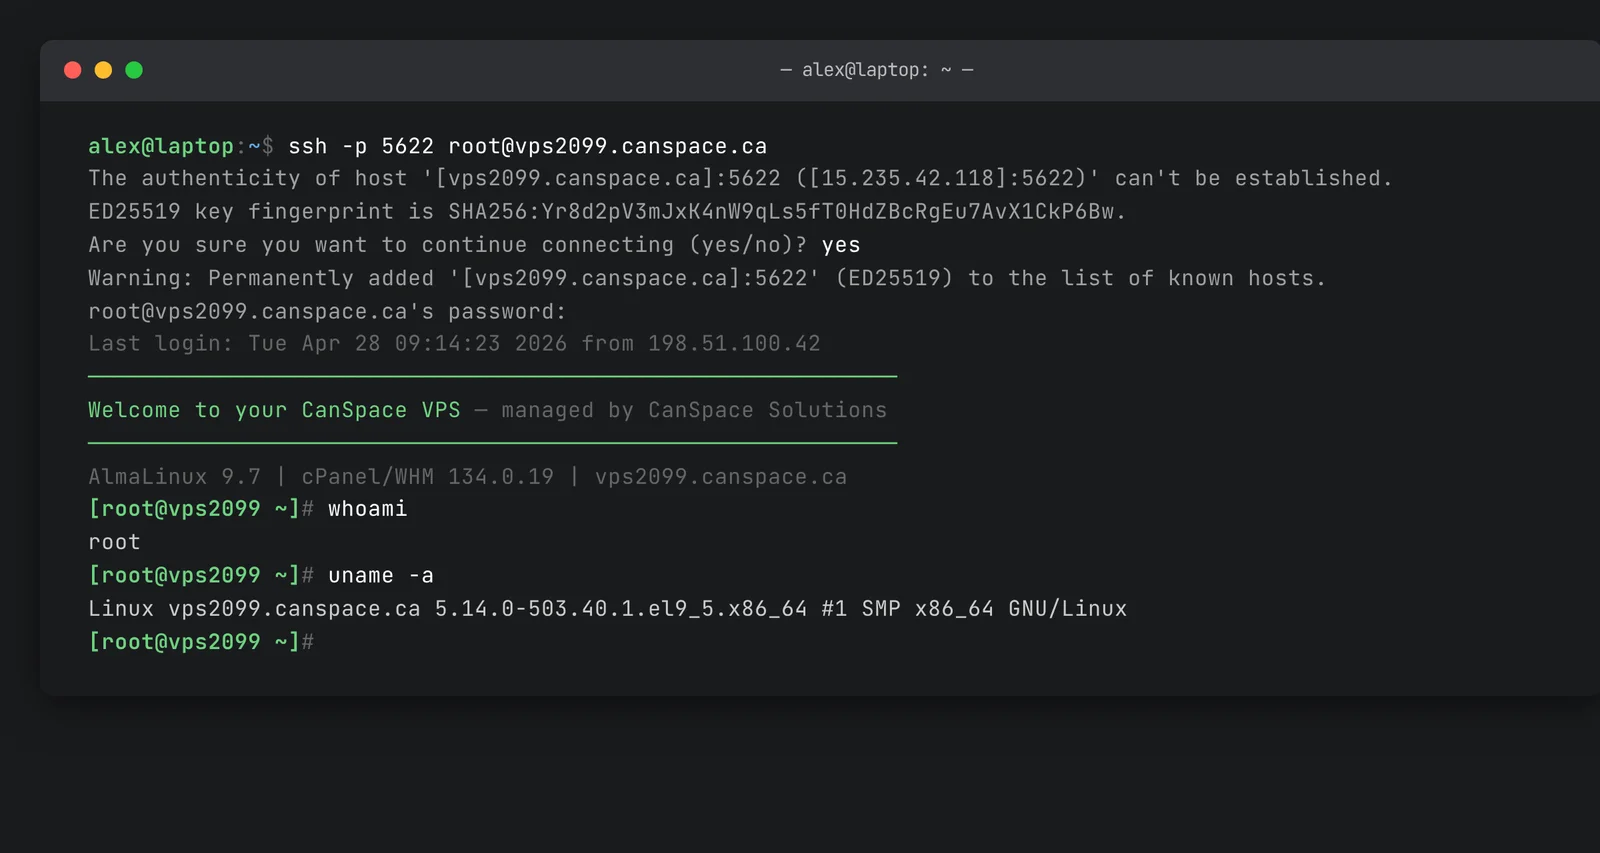
Connect from Linux or macOS
- Open a terminal.
-
Run the SSH command, replacing
your-server.canspace.cawith your server's hostname:ssh -p 5622 [email protected] - The first time you connect, accept the server's key fingerprint by typing
yes. - Enter your root password when prompted.
You'll land at a root shell prompt:
Connect from Windows (built-in OpenSSH)
Windows 10 and 11 ship with an OpenSSH client. Open PowerShell or Command Prompt and run:
ssh -p 5622 [email protected]Same prompts as Linux/macOS. If ssh is not recognized, open Settings → Apps → Optional Features and add OpenSSH Client.
Connect from Windows (PuTTY)
- Download PuTTY from putty.org and install.
- Open PuTTY. In the Host Name field, enter your server hostname.
- In the Port field, enter 5622.
- Make sure Connection type is set to SSH.
- (Optional) Type a name into the Saved Sessions box and click Save so you don't have to retype the details next time.
- Click Open. Accept the host key fingerprint, then log in as
rootwith your password.
Use SSH keys instead of a password (recommended)
Password authentication works, but key-based authentication is far more secure and convenient. Generate a key on your local machine, install the public key on the server, then disable password auth.
-
On your local machine (Linux/macOS/Windows with OpenSSH), generate a key pair:
ssh-keygen -t ed25519 -C "[email protected]"Press Enter to accept the default file location and (optionally) set a passphrase. Two files are created:
~/.ssh/id_ed25519(private — keep secret) and~/.ssh/id_ed25519.pub(public — safe to share). -
Copy the public key to your server:
ssh-copy-id -p 5622 [email protected]Or, if
ssh-copy-idisn't available, paste the contents ofid_ed25519.pubinto/root/.ssh/authorized_keyson the server (one key per line). -
Test the key login — it should not prompt for a password:
ssh -p 5622 [email protected] -
Once key auth works, disable password authentication. Edit
/etc/ssh/sshd_configon the server:PasswordAuthentication noSave and restart SSH:
systemctl restart sshd(orservice sshd restarton older systems).
Common issues
"Connection timed out" or "Connection refused"
The most common cause is your IP being blocked by the server's firewall (CSF) after too many failed login attempts. See CSF firewall basics on your VPS to unblock yourself, or open a ticket from a different network and tell us your IP.
"Permission denied (publickey,password)"
Either the password you typed is wrong, or — if you've set up keys — your local SSH client isn't presenting the right key. Add -v to your ssh command to see what's happening (ssh -v -p 5622 [email protected]).
Forgot your root password
For VPS, we can reset it via the OVH control panel. Open a ticket; we'll set a new password and pass it back to you.
Related articles
Trouble connecting to your server? Open a support ticket


