Just signed up for a CanSpace VPS or dedicated server? Here's a checklist of the things worth doing in the first hour to get organized, secure, and ready for production work.
1. Read your New Account Information email
It contains everything you need to get started: server hostname, IP, root password, WHM URL, nameservers, and SSH details. Save it somewhere you'll find it later — a password manager is ideal. See Your New Account Information email, explained for a full breakdown.
2. Log in to WHM and run through the basics
- Open
https://your-server.canspace.ca:2087in a browser. - Log in as
rootwith the password from your email. - Accept the EULA (one-time).
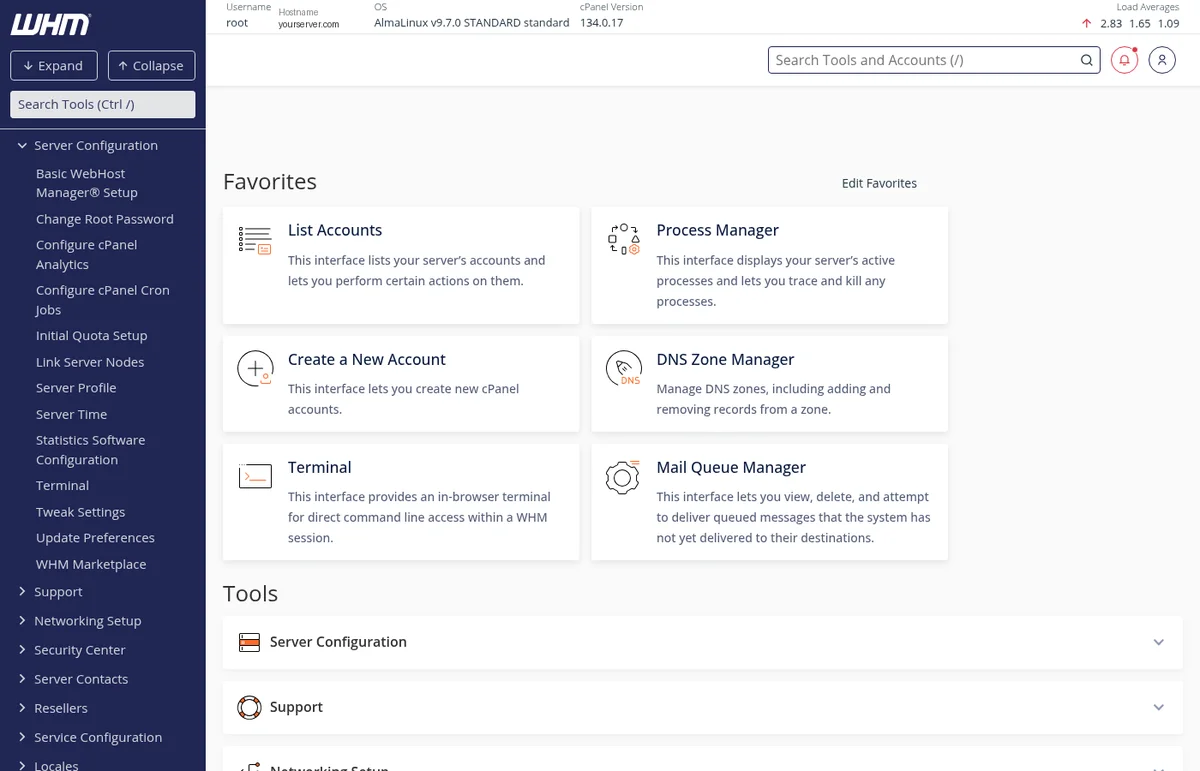
- From the WHM home, you can see overall server health, disk usage, and the Service Status panel — give it a quick look so you know what "normal" looks like for your box.
3. Connect via SSH and change the root password (optional)
If you'd like a different root password than the one we provisioned, set one over SSH:
ssh -p 5622 [email protected]
passwd
Or, even better, set up SSH key authentication and disable password login entirely — see Connect to your VPS via SSH.
4. Configure your reverse DNS (PTR record)
If you'll be sending email from your server, set the reverse DNS for your IP to your server's hostname. We do this on OVH's side — open a ticket with the hostname you'd like the rDNS to resolve to. See Reverse DNS / PTR records for context.
5. Decide on your DNS strategy
Your VPS comes with its own nameservers (e.g. your-server.canspace.ca and your-server-2.canspace.ca). Two options for any domains you host on the box:
- Use your VPS as the authoritative nameservers — point your domain's nameservers (at the registrar) to the pair we gave you. This is the simplest setup, and DKIM/SPF records are managed automatically by cPanel.
- Use an external DNS provider (Cloudflare, etc.) — keep your domain's nameservers wherever they are now and just create A/MX/etc. records pointing at your server's IP. Useful if you want CDN/proxy features. See Set up Cloudflare.
6. Plan your account structure (cPanel accounts vs single account)
If you're hosting multiple sites:
- One cPanel account per site — clean separation, separate databases / mail / quotas, and easy to migrate or delete a single site without affecting others. This is the standard approach.
- One cPanel account, multiple addon domains — simpler if all sites belong to the same person. All sites share one home directory and one set of databases.
To create a new cPanel account, see Create a new cPanel account in WHM.
7. Familiarize yourself with the firewall (CSF)
Every VPS we provision has CSF (ConfigServer Security & Firewall) installed and tuned. Most of the time it'll quietly do its job, but you'll occasionally need to unblock an IP — yours, your developer's, or a service that's been temporarily blocked after a few failed login attempts. See CSF firewall basics on your VPS.
8. Confirm your backups
For VPS, we configure automatic daily backups to our off-site backup server at provisioning time. You don't need to do anything to enable them. If you ever need a restore, open a ticket with the date and account/files you need recovered.
For dedicated servers, backups are configured per-server based on what you ordered. Check your New Account Information email or open a ticket if you're not sure what's set up.
9. Set up monitoring (optional but recommended)
OVH's built-in monitoring pings your server and notifies us of hardware-level issues. For application-level uptime monitoring (is the website serving HTTP 200? is the database responding?), use a third-party service like UptimeRobot, BetterUptime, or your own setup.
10. Migrate or build your sites
If you're moving from another host, your VPS includes free migration assistance. Open a ticket with credentials for your old host and we'll restore your accounts. See What's included in our free migration.
What's next
Once your server is set up and your sites are running, the things you'll most often come back to are:
- WHM — server-wide settings, account creation, package management.
- SSH — anything that needs root access (system packages, custom configs, debugging).
- cPanel — per-site management. You can log in to any cPanel account from WHM → List Accounts → click the cPanel icon next to the user.
Related articles
Need a hand getting started? Open a support ticket


