Exporting a MySQL database is the easiest way to back it up, move it to another server, or share it with a developer. cPanel includes phpMyAdmin, a web-based tool that handles exports without needing any command-line work.
Export a database via phpMyAdmin
- Log in to cPanel.
- Under the Databases section, click phpMyAdmin.
-
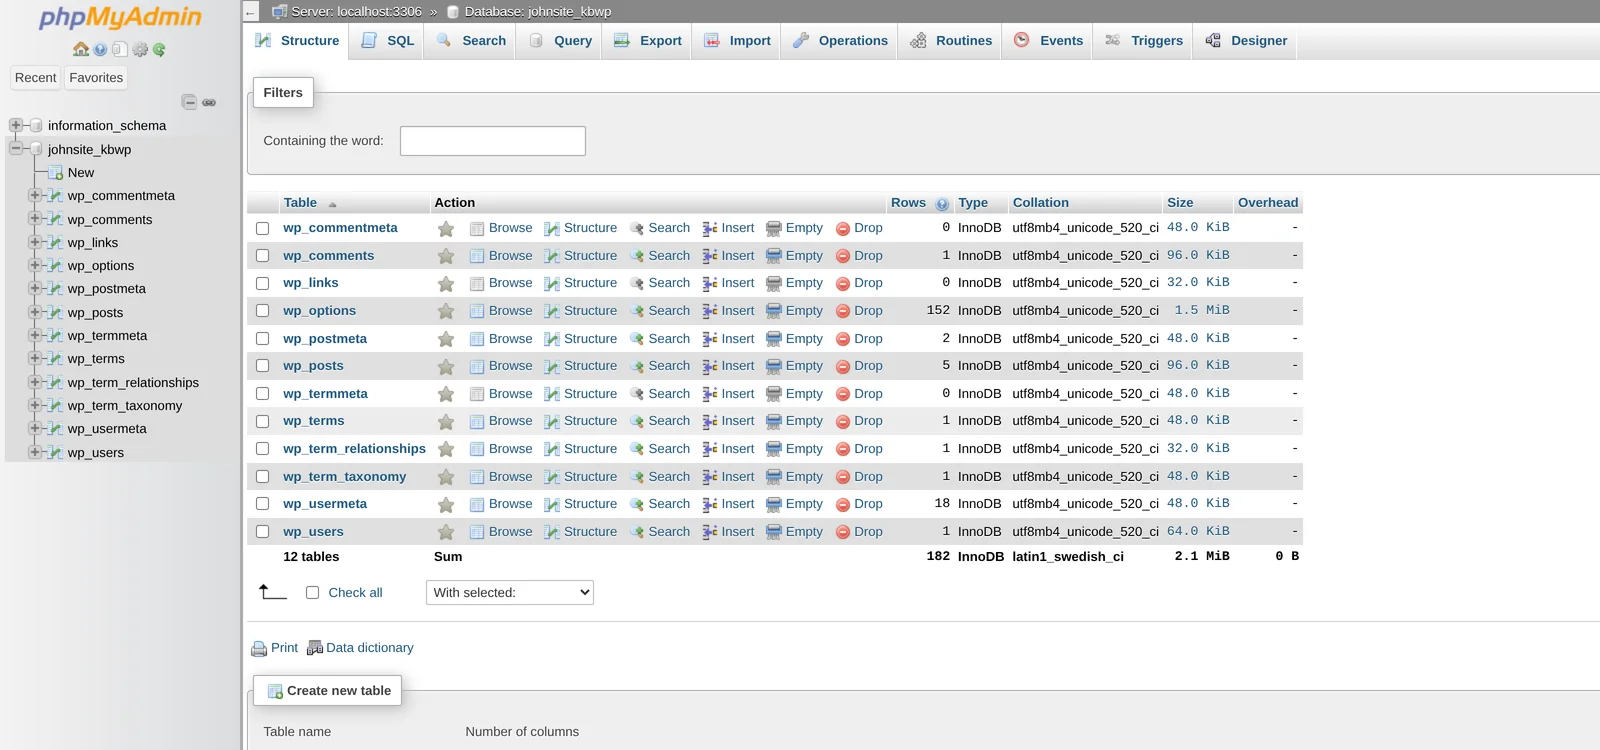
In phpMyAdmin's left sidebar, click the database you want to export. The right pane shows its tables.
-
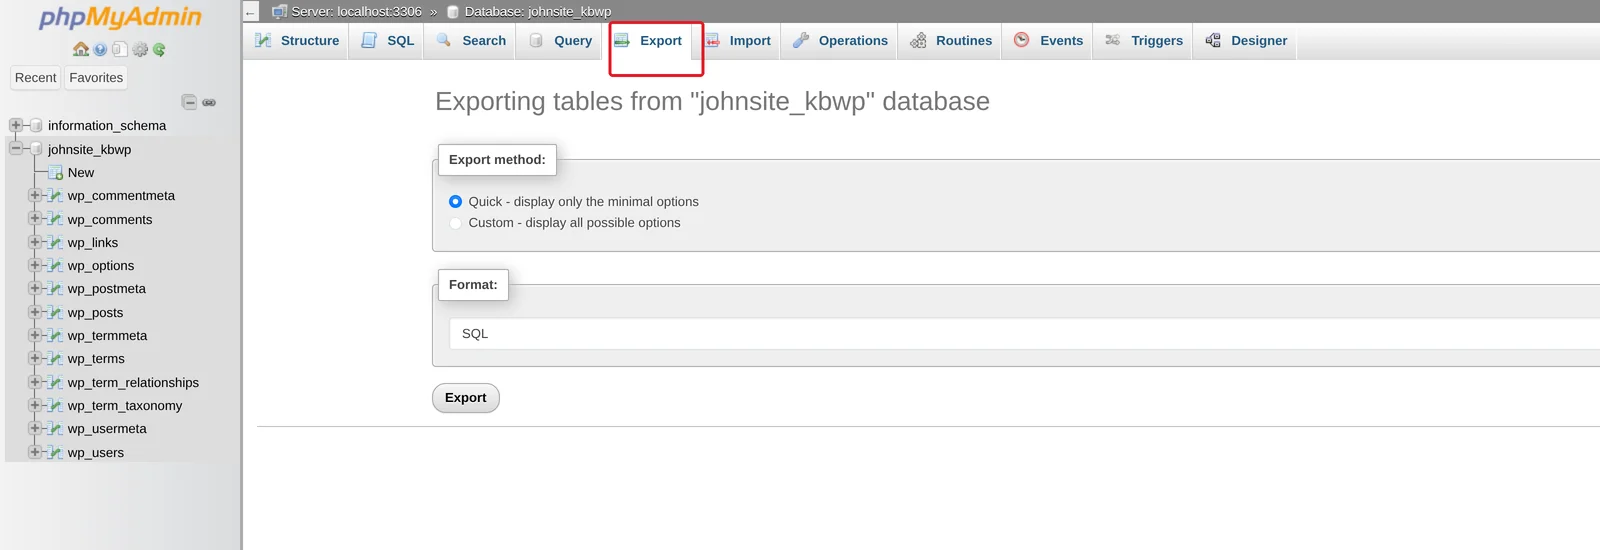
Click the Export tab in the top menu.
-
Choose your export options:
- Quick — just downloads the database as SQL with sensible defaults. Use this in 95% of cases.
- Custom — gives you control over which tables to include, the format, character encoding, etc. Use this for selective exports.
- For Format, leave it as SQL unless you specifically need CSV / XML / something else.
- Click Export (or Go on older phpMyAdmin versions).
- Your browser downloads a
.sqlfile. Save it somewhere safe.
Custom export options worth knowing
If you click Custom, you'll see additional options. The ones that matter most:
- Tables — checkboxes for each table. Untick any you don't want exported (rare; usually you want them all).
- Output → Compression — set to gzipped or zipped for a much smaller download. Particularly useful for databases over 50 MB.
- Object creation options → Add DROP TABLE / VIEW / PROCEDURE — tick this if you'll be re-importing into a database that already has tables. The export will drop the existing tables first, avoiding "table already exists" errors.
- Data dump options → Syntax to use when inserting data — leave as extended INSERTs for smaller files and faster imports.
Compressed exports for large databases
For databases over ~100 MB, compress the export to keep the download manageable:
- On the Export page, click Custom.
- Scroll to Output section.
- Set Compression to gzipped.
- Continue with the export.
You'll get a .sql.gz file. phpMyAdmin can re-import gzipped files directly — no need to unzip first.
Exporting from the command line (advanced)
If you have SSH access, the command line is faster for large databases (no PHP timeout issues, no browser download). SSH in and run:
mysqldump -u USERNAME -p DATABASE_NAME > backup.sqlOr to compress on the fly:
mysqldump -u USERNAME -p DATABASE_NAME | gzip > backup.sql.gzYou'll be prompted for the password. Database username, password, and database name come from cPanel → MySQL Databases.
What's actually in the export?
A .sql file is plain text. If you open it in a text editor, you'll see:
CREATE TABLEstatements that recreate the structure.INSERT INTOstatements that load the data.- Comments with database metadata (timestamps, MySQL version, etc.).
That means an export is fully self-contained — anywhere you can run MySQL, you can recreate the database from this file.
Common scenarios
| Scenario | Approach |
|---|---|
| Pre-change backup | Quick export, save the .sql file locally |
| Migrating to another host | Compressed Quick export, upload to new host, import |
| Sharing with a developer | Custom export with sensitive tables (e.g. users) excluded if needed |
| Large WordPress / WooCommerce database | SSH + mysqldump + gzip |
Where do exports go?
Browser-based exports download to your computer's normal Downloads folder. The file is NOT stored on the server — only on your computer. So if you want a server-side backup too, use the cPanel Backup Wizard or our daily server-side backups (Request a backup restore).
Related articles
Need help exporting a large or complex database? Open a support ticket


