Imunify360 is a comprehensive security suite for cPanel servers — malware scanner, web application firewall, intrusion detection, brute-force protection, and a graylist for suspicious traffic. On VPS and dedicated servers, it shows up in WHM as a dedicated icon.
Where to find it
Once Imunify360 is licensed and installed:
- Log in to WHM (
https://your-server.canspace.ca:2087). - In the left sidebar search, type Imunify360.
- Click Imunify360 to open the dashboard.
The Imunify360 dashboard
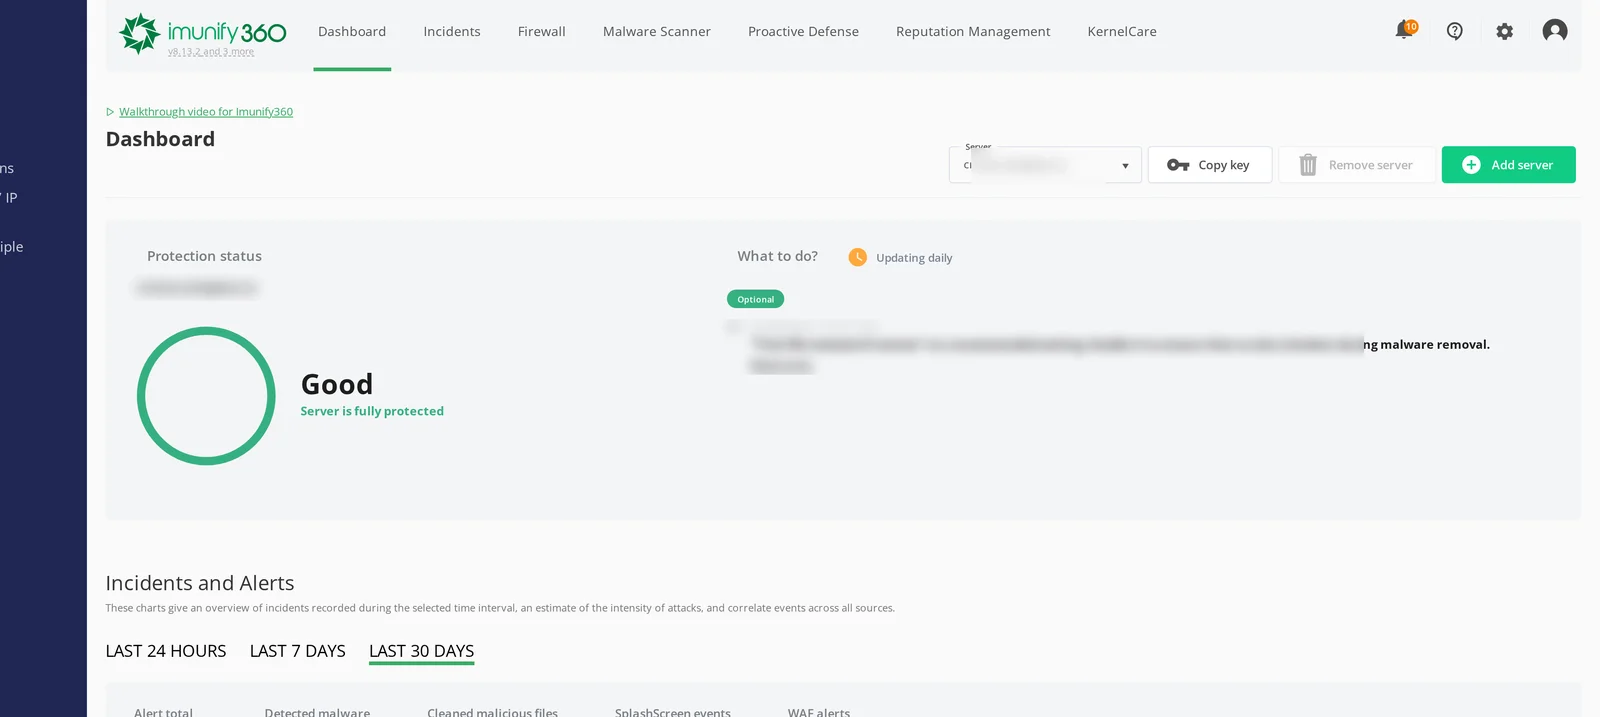
The dashboard has several tabs along the top. The ones you'll use most:
Incidents
Lists every security event Imunify has detected — failed logins, blocked SQL injection attempts, brute-force probes, and so on. Each row shows the source IP, the type of event, what happened, and the timestamp.
Use this when investigating a complaint ("my IP was blocked", "I'm getting attacked") to see exactly what was detected.
Malware Scanner
Scans every account on the server for malicious files. Three modes:
- On-demand — run a scan now.
- Scheduled — daily / weekly automatic scans.
- Real-time — files are scanned as they're created or modified.
If malware is found, you can choose to clean (heal), quarantine, or delete the affected files. Imunify can usually clean common WordPress / Joomla infections automatically; complex malware is quarantined for review.
Proactive Defense
Watches PHP execution at runtime and blocks suspicious behaviour even when files aren't yet identified as malware. This is the layer that often catches new / customized malware before signatures exist.
Firewall
Imunify's own IP-blocking layer (separate from CSF, though they integrate). Three lists:
- Whitelist — IPs that are never blocked, regardless of behaviour.
- Graylist — IPs flagged as suspicious; they get a CAPTCHA challenge before being allowed through.
- Blacklist — IPs that are hard-blocked (no traffic accepted at all).
Use Whitelist for trusted office / partner IPs. Use Blacklist for confirmed attackers.
WAF
The web application firewall — applies ModSecurity rules to incoming HTTP requests, blocking common attack patterns (SQL injection, XSS, file inclusion, etc.). Most of the time you don't need to configure this; it ships with sensible defaults.
If a legitimate request keeps getting blocked (a developer trying to save a long article, a complex form submission), you can find the WAF rule that triggered it under Incidents and add an exception.
Settings
Most of Imunify's defaults are good. The settings worth knowing about:
- Notifications — configure which events trigger emails. By default, you'll get notified on detected malware. Tune up or down based on volume.
- Disable / enable each module — if you want to use just the firewall but not the malware scanner, you can toggle them individually here.
- Sensitivity — how aggressively to flag suspicious behaviour. Higher catches more, but also more false positives.
Common things you'll do in Imunify360
Unblock an IP
If a customer says they can't reach the site:
- Imunify360 dashboard → Incidents.
- Search for the IP — you'll see what triggered the block.
- Imunify360 dashboard → Firewall → Graylist or Blacklist.
- Find the IP and click Remove.
- Optionally add it to the Whitelist if you want to make sure it stays unblocked.
Investigate a malware alert
- Imunify360 dashboard → Malware Scanner.
- Click the affected user.
- Review the file paths and detection details.
- Choose Clean for known-good auto-cleanable malware, or Quarantine if you want to inspect first.
- Investigate how the malware got in (check for outdated plugins, weak passwords, FTP compromises) — Imunify removes the malicious files but won't fix the entry vector.
Add an IP exception for a developer
- Imunify360 dashboard → Firewall → Whitelist.
- Click Add.
- Enter the IP and a comment ("Joe — main developer").
- Save.
Imunify360 vs CSF: who does what
On servers with both:
- CSF handles network-level firewalling (port rules, country blocks) and brute-force detection on SSH / cPanel / FTP / mail logins.
- Imunify360 handles HTTP-level threats — malware, WAF, suspicious request patterns, the graylist.
They share an integration, so an IP detected as bad by either lands in the right deny list. You don't need to maintain rules in both manually.
Performance impact
The malware scanner uses some CPU during scans (default ~15-20%). Real-time scanning has minimal impact (scans are fast and only run on file changes). The WAF adds a small amount of latency to every HTTP request (a few milliseconds). On modern hardware, the overhead is negligible.
License renewal
Imunify360 licenses are billed per server. We handle license renewal as part of your hosting subscription — you don't need to interact with the vendor directly. If you ever want to add or remove Imunify, open a ticket.
Related articles
Want to add Imunify360 to your VPS or dedicated server? Open a support ticket


