You can update your name, email address, phone number, billing address, and language preference from the client area. Changes take effect immediately.
Update your contact information
-
Log in to the client area.
-
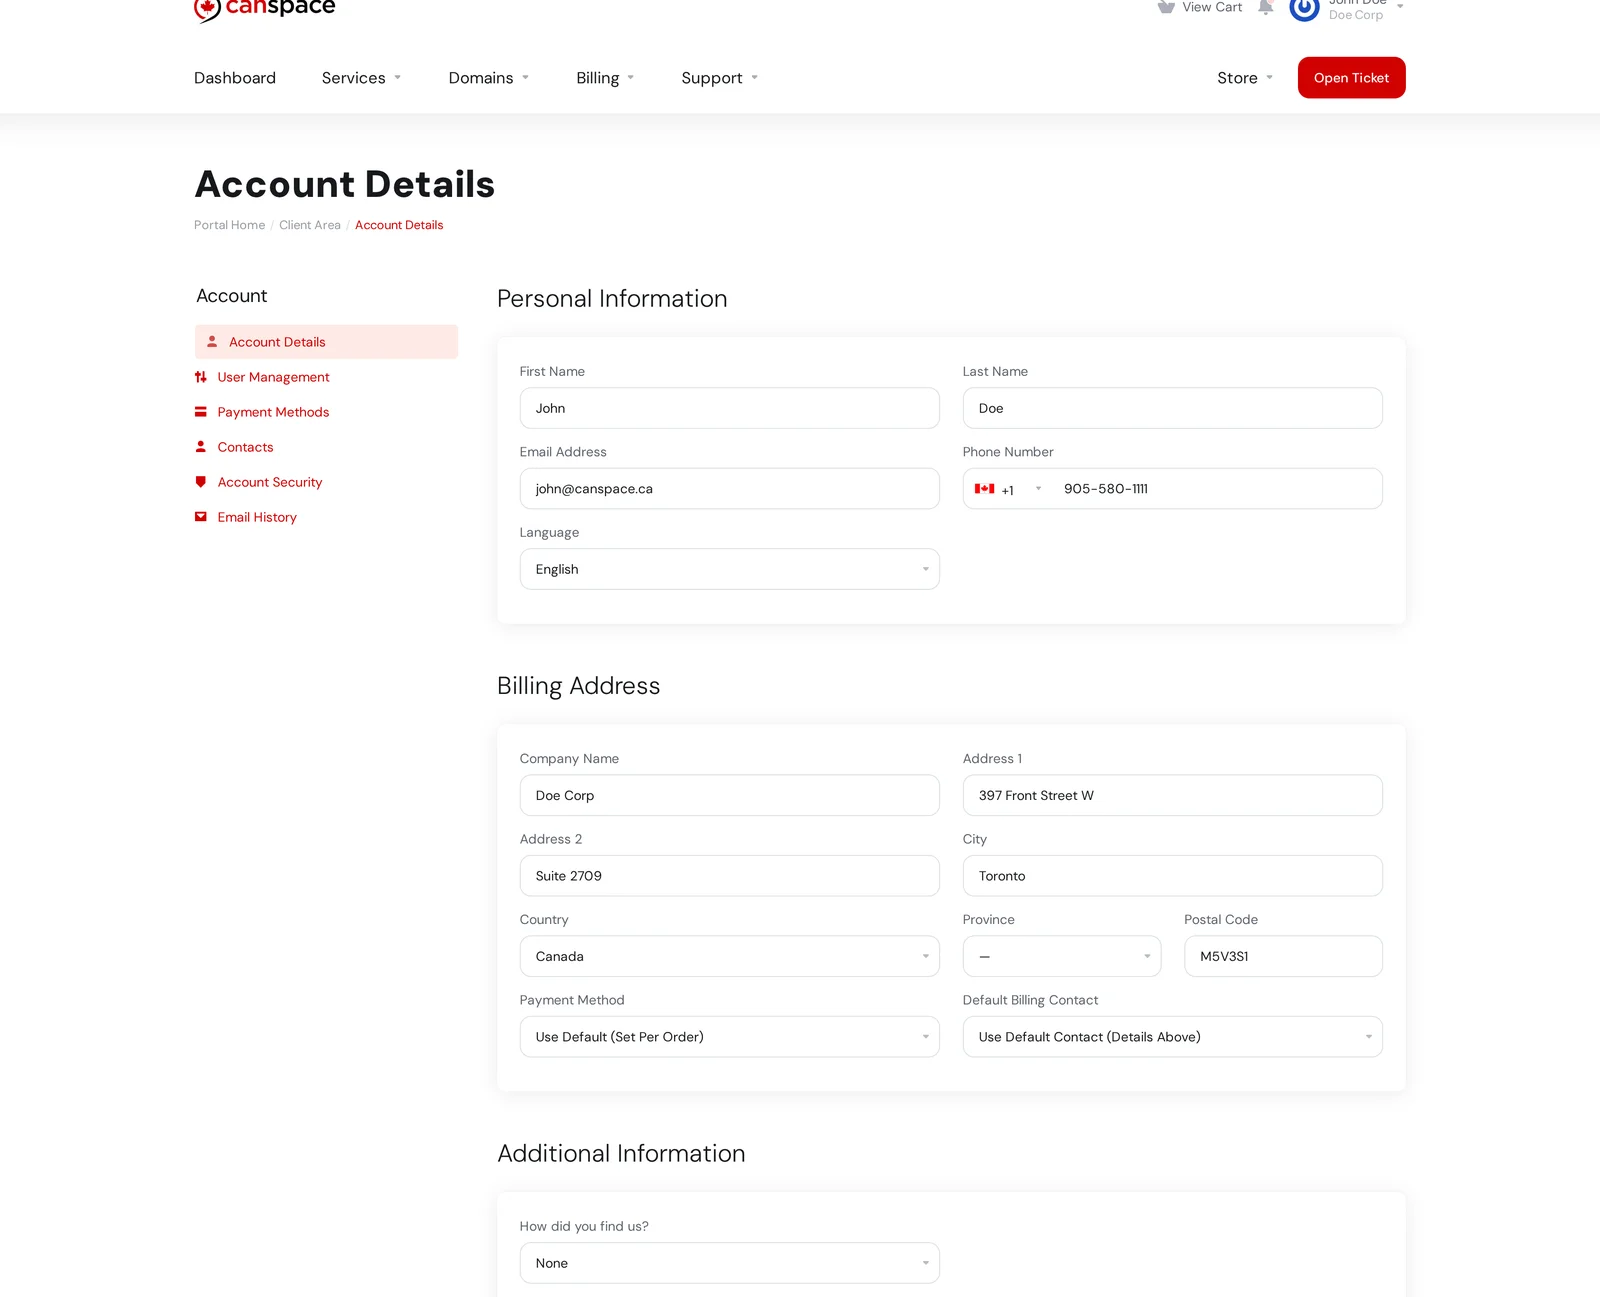
Click your name in the top right and choose Account Details from the dropdown (or visit the page directly at clientarea.php?action=details).
-
Update any of the following sections:
- Personal Information — first name, last name, email address, phone number, language
- Billing Address — company, address, city, country, province, postal code
- Additional Information — how you found us (optional)
-
Scroll to the bottom and click Save Changes.
What gets updated
Your Account Details are the primary contact on file. These details appear on:
- Invoices and receipts (the billing address block)
- Your client area header (name shown in the top-right corner)
- System emails (we address you by your current first name)
- WHOIS records for your domains if the domain is set to use your Account Details as the registrant. If you've customized your WHOIS info separately on a domain, updating your Account Details won't overwrite it — see Update WHOIS information.
Updating the email address you log in with
The Email Address field on Account Details is your contact email — the one shown on invoices and used for system notifications. It is not the address you log in with.
Your login email is tied to your user, not the account itself, and you change it from a different place: User Management.
Step 1: find your user in User Management
-
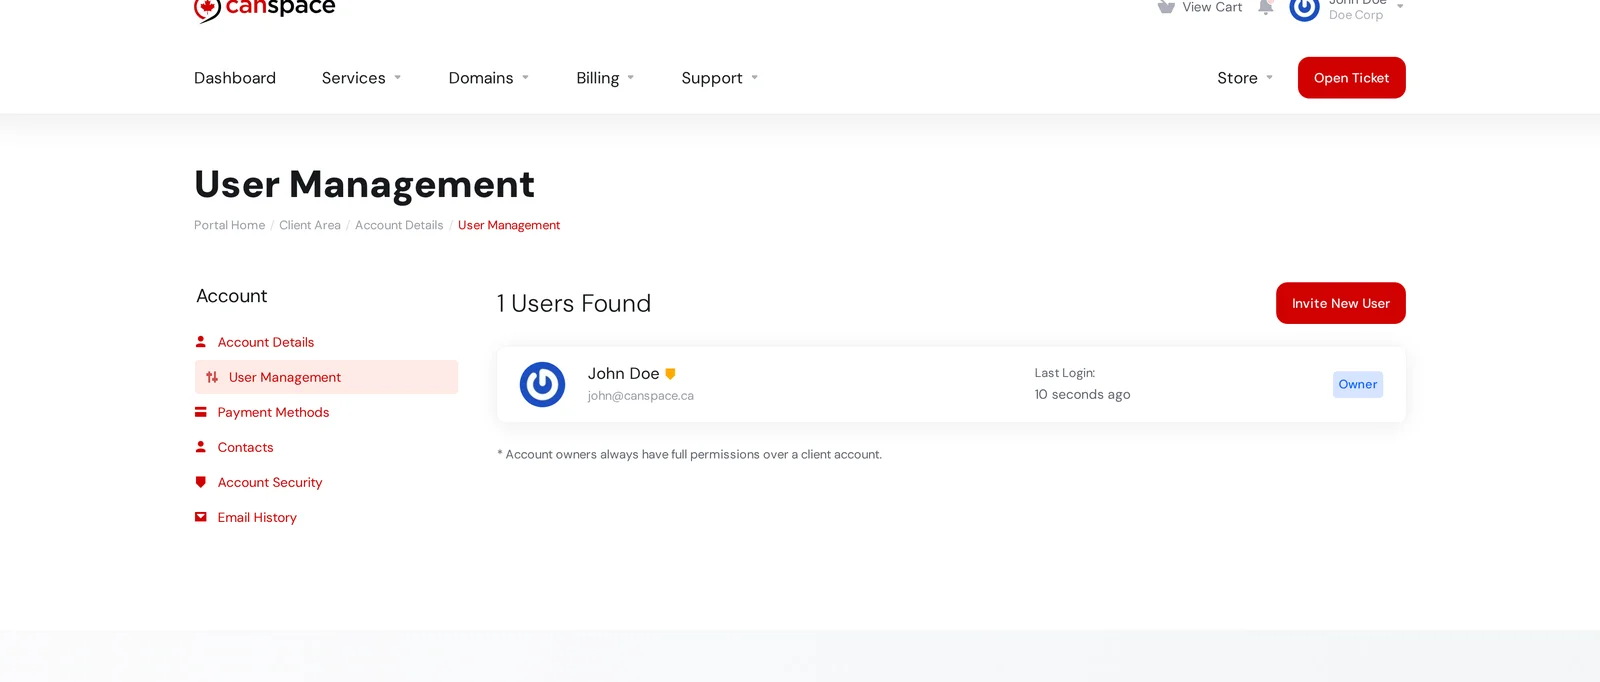
Click your name in the top right of the client area and choose User Management (or open account/users directly).
-
You'll see a list of everyone who can log in to your account. The Owner entry — the email shown under your name — is the address you currently log in with.
Step 2: change the login email on your profile
-
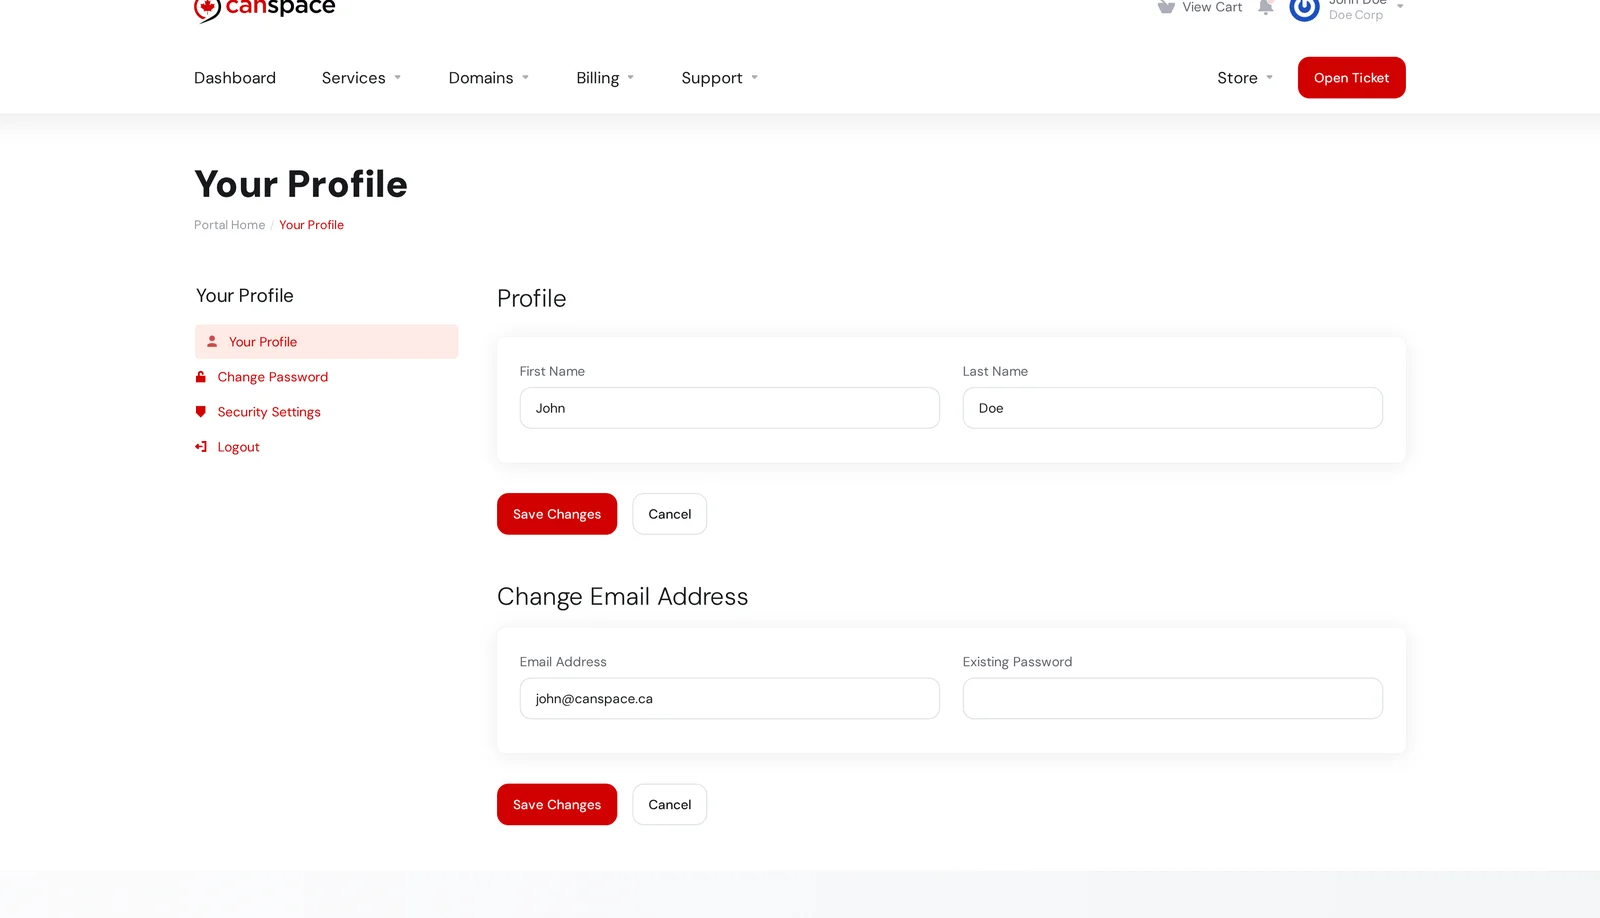
From the top-right dropdown (click your name), select Your Profile, or go straight to user/profile.
-
Scroll to the Change Email Address section. Enter your new email address, type your current password to confirm, and click Save Changes.
-
The next time you log in, use the new email. Your password stays the same.
Giving someone else login access
Need a business partner, developer, or family member to have their own login rather than sharing yours? On the User Management page, click Invite New User. WHMCS emails them an invitation — they create their own password, and from then on they log in with their own email address. You control what they can see and do by picking a permissions preset during the invite.
This is usually the right answer when someone else needs access, rather than changing your login email to share the account.
Multiple people on one account
If you want other people to be able to log in or receive emails about your account (developer, accountant, business partner), don't share your password — use the separate Contacts or User Management features:
- Add a new contact to your account — for billing contacts or sub-accounts who can also log in.
Related articles
Run into a problem or need us to update something for you? Open a support ticket


