SSH (Secure Shell) gives you command-line access to your hosting account — useful for running Composer, Git, WP-CLI, Laravel Artisan, Node.js build steps, or any task that's easier from a terminal than from cPanel's File Manager. This article covers how to request access and how to connect from Mac, Linux, and Windows.
Request SSH access
On shared hosting (Medium or Professional), SSH is off by default. To enable it:
- Log in to your client area and open a support ticket.
- Ask for SSH access to be enabled on your hosting account. Mention the domain on the account if you have more than one hosting plan with us.
We'll enable it and reply in the ticket — usually within a few minutes.
VPS and dedicated server clients have SSH enabled by default and don't need to request anything. The connection details are in your "New Server Information" email from when the server was set up.
Find your SSH connection details
You'll need three pieces of information to connect:
- Hostname — usually your account's cPanel server hostname. You can find it in cPanel under General Information → Shared IP Address / Hostname, or in the "New Account Information" email we sent when your account was set up. It will look like
eos.canspace.ca,chiron.canspace.ca, etc. (for VPS or dedicated servers, use your server's hostname). - Port —
5622on all CanSpace servers. Not the default 22. - Username and password — the same credentials as your cPanel login. If you've forgotten, see Reset your cPanel password.
Connect from macOS or Linux
Both come with an SSH client built in. Open Terminal (macOS: Applications → Utilities; most Linux distros: Ctrl+Alt+T) and run:
ssh -p 5622 [email protected]Replace cpaneluser with your cPanel username and yourhostname with your server's hostname. The first time you connect, you'll see a message about accepting the server's host key — type yes and press Enter. Then enter your password when prompted.
If everything works, you'll land at a shell prompt like cpaneluser@yourhostname [~]#. That's your account's home directory.
Connect from Windows
Windows 10 and 11 also have a built-in SSH client. Open PowerShell or Command Prompt and run the same command as above:
ssh -p 5622 [email protected]If you'd prefer a graphical client, PuTTY is a popular free option:
- Download and install PuTTY.
- Open PuTTY. In the Host Name field, enter
[email protected]. - In the Port field, enter 5622.
- Click Open. When prompted, enter your password. (Nothing will appear on screen as you type — this is normal.)
Using SSH keys instead of a password
Passwords work, but SSH keys are more secure and save you from re-entering the password each time. The setup:
Generate a key on your computer (if you don't already have one)
From your local terminal (macOS/Linux/Windows):
ssh-keygen -t ed25519 -C "[email protected]"Press Enter to accept the default location. Set a passphrase if you'd like an extra layer of security. This creates two files in ~/.ssh/: id_ed25519 (private — keep this secret) and id_ed25519.pub (public — safe to share).
Add the public key to your cPanel account
- Copy the contents of your public key file:
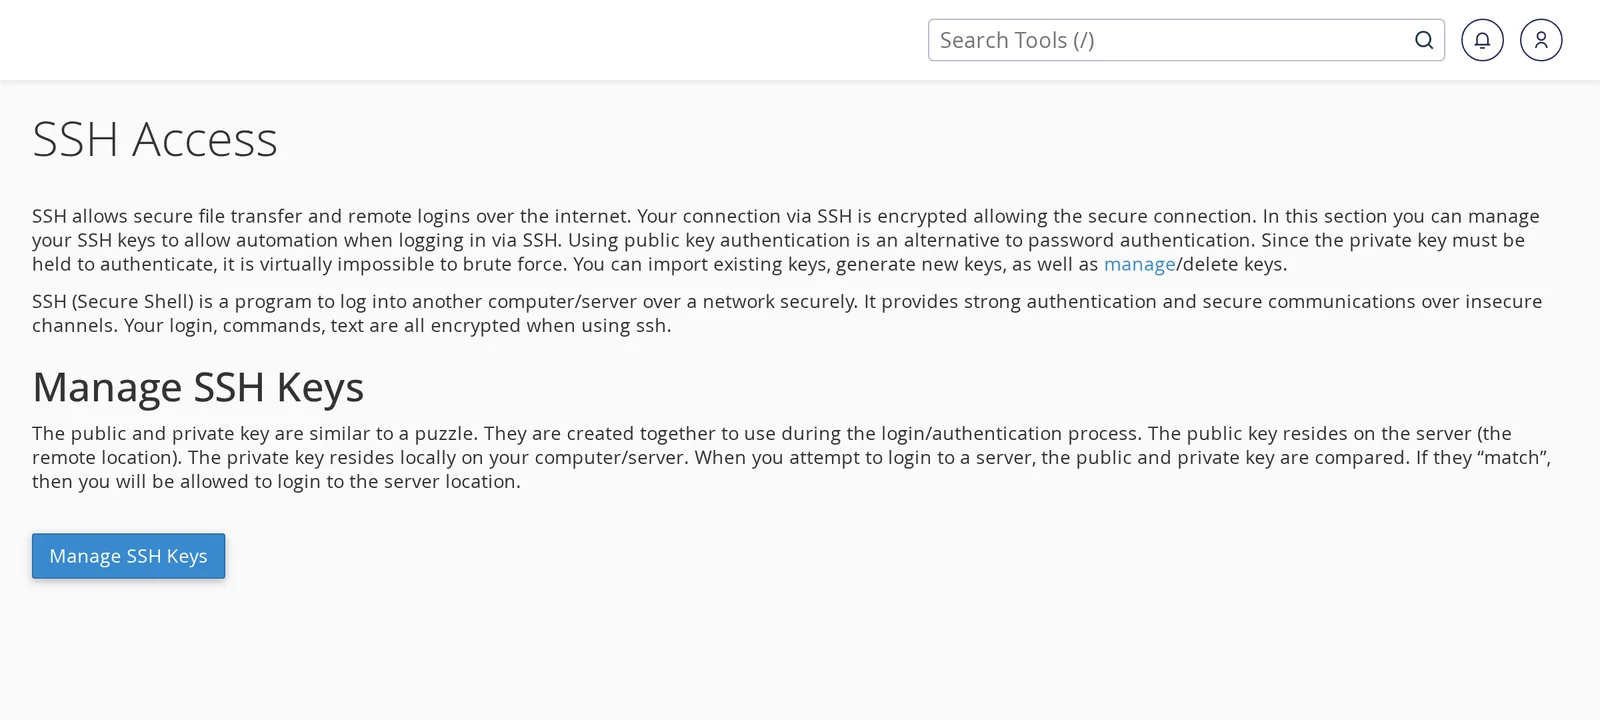
cat ~/.ssh/id_ed25519.pub - In cPanel, type ssh in the search bar and open SSH Access.
- Click Manage SSH Keys, then Import Key.
- Give the key a name, paste the public key into the Public Key field, and click Import.
- Back on the SSH Keys page, click Manage next to the imported key and choose Authorize.
Next time you connect via SSH, you won't be prompted for a password — the key handles authentication.
Common tasks you can do over SSH
- WP-CLI — manage WordPress from the command line:
wp plugin update --all,wp db export,wp user list, etc. Available at/usr/local/bin/wp. - Git — clone repositories, deploy via post-receive hooks. Available at
/usr/bin/git. - Composer — install PHP packages for Laravel, Symfony, or other frameworks.
- Database dumps —
mysqldump -u dbuser -p dbname > backup.sqlfor taking your own database snapshots. - File operations — faster than the File Manager for large file counts (moving directories, bulk chmod, find commands, etc.).
Common issues
"Connection refused" or "Connection timed out"
If the connection fails immediately: double-check you're using port 5622 (not 22). If you used 22 and nothing happened, that's why.
If the connection hangs and then times out: your IP might be firewall-blocked from too many failed login attempts. See Unblock your IP (CSF firewall).
"Permission denied (publickey,password)"
Either SSH isn't enabled on your account yet (Medium and Professional plans need it enabled via support ticket), or you're using the wrong username/password. For shared hosting, the SSH username is your cPanel username — not an email address.
"Host key verification failed"
If you've connected to this server before and the message mentions the host key having changed, either the server was rebuilt (unlikely without notice) or something is interfering with the connection. Remove the old entry with ssh-keygen -R yourhostname.canspace.ca and try again. If the warning persists, contact us.
Related articles
Need SSH enabled on your account? Open a support ticket


