DNSSEC (Domain Name System Security Extensions) adds a cryptographic signature to your domain's DNS so visitors can be sure the answers they receive haven't been tampered with on the way to them. If you've turned on DNSSEC at your DNS provider, you can publish the matching DS record for your .ca domain yourself, right from the client area.
What DNSSEC does
Normally, when a visitor's computer asks "what is the IP address for yourdomain.ca?", the answer comes back in plain text. Someone positioned in between (at the network level, on public Wi-Fi, or at a compromised DNS resolver) can potentially intercept that answer and send back a different one, redirecting visitors to a malicious server. This is called DNS spoofing or cache poisoning.
DNSSEC prevents this by attaching a digital signature to your DNS answers. The signature is generated by your DNS provider with a private key and can be verified by anyone using the matching public key, which is anchored at the registry. If an answer has been altered in transit, the signature won't match and DNSSEC-aware resolvers reject it.
Do you need DNSSEC?
For most websites, DNSSEC is a nice-to-have rather than a must-have. It does not encrypt your traffic (that's what SSL does) and it does not stop phishing. What it protects against is a narrow but real class of DNS-level attacks.
It's worth enabling if you run a financial, government, or healthcare site, you've seen DNS-related attacks before, you handle high-value transactions, or a compliance framework you follow recommends it. You can safely skip it for a standard business site, blog, or marketing site where HTTPS, strong passwords, and software updates are the priorities.
How DNSSEC gets enabled
There are two pieces, handled in two places:
- Your DNS provider signs the zone. Whoever hosts your DNS records (Cloudflare, Amazon Route 53, your own server, or us) generates the signing keys and gives you a DS record: four values labelled Key Tag, Algorithm, Digest Type, and Digest.
- The registry publishes the DS record. For
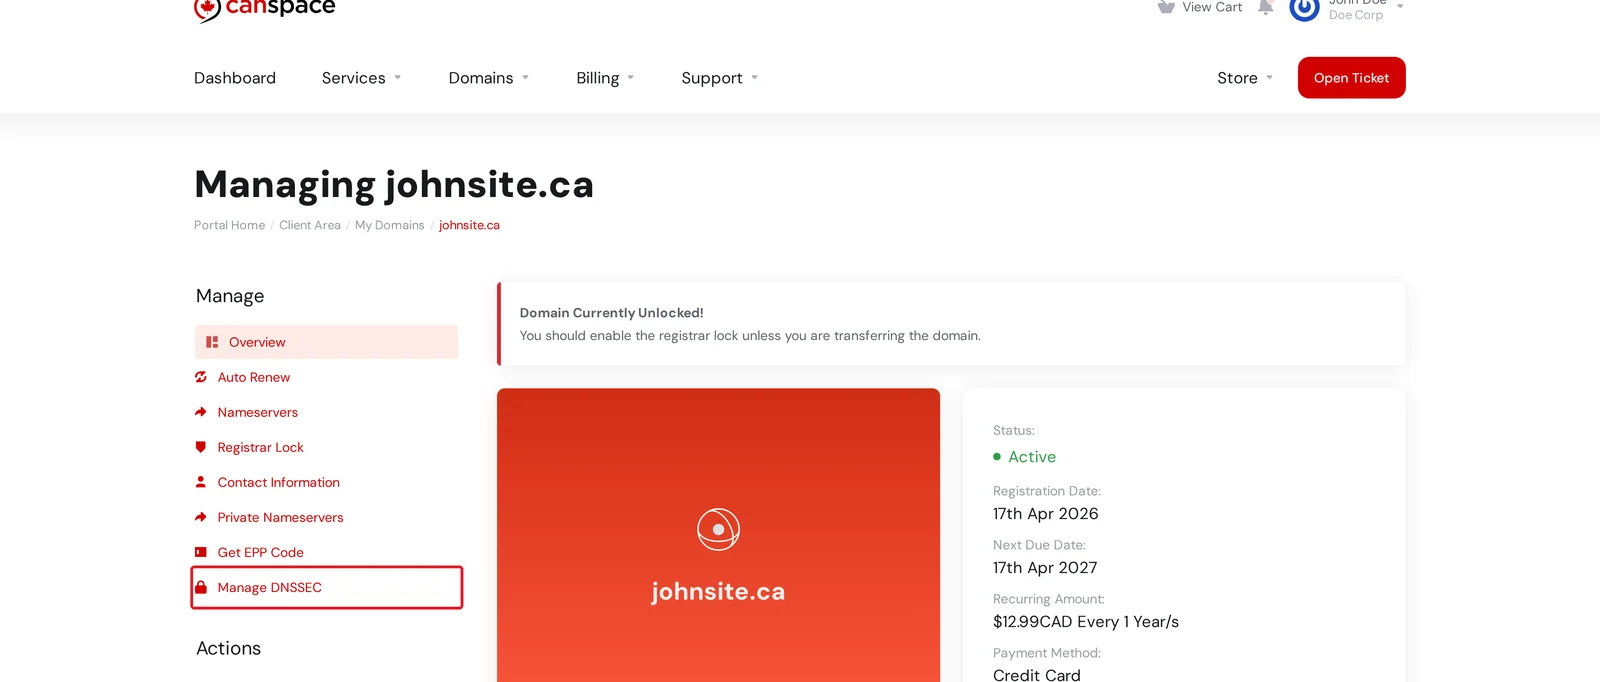
.cadomains the registry is CIRA. Publishing that DS record at the registry is what completes the chain of trust. The Manage DNSSEC page is where you do this for a domain registered with CanSpace.
Add a DS record
- Turn on DNSSEC at your DNS provider and copy the DS record. In Cloudflare, go to DNS › Settings and click Enable DNSSEC. In Amazon Route 53, open your hosted zone and enable DNSSEC signing. Either way, the provider shows you the four values you'll need: Key Tag, Algorithm, Digest Type, and Digest.
- Open Manage DNSSEC. In the client area, go to Domains, click Manage next to your domain, and choose Manage DNSSEC from the Manage menu.
- Enter the DS record and add it. Under Add a DS record, type the Key Tag, choose the Algorithm and Digest Type from the dropdowns, paste the Digest, then click Add DS record. It's published to the registry right away and appears in the Current DS records table above.
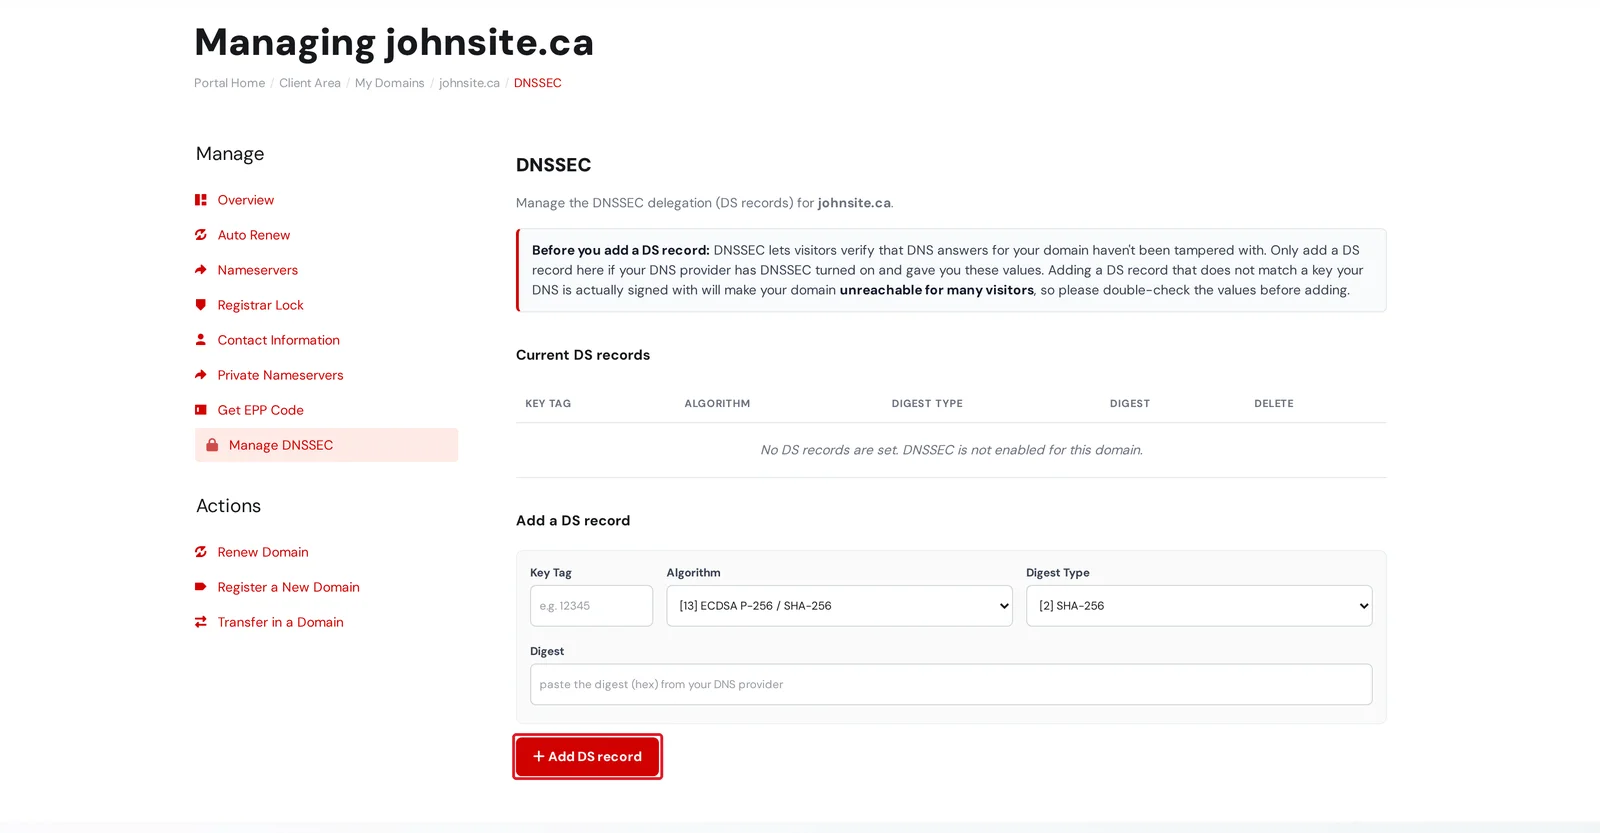
Remove a DS record
On the Manage DNSSEC page, click the trash icon in the Delete column next to the record and confirm. It's removed from the registry immediately. Removing your only DS record turns DNSSEC off for the domain.
Always remove the DS record before you switch DNS providers. If you move your DNS somewhere else (or turn DNSSEC off at your provider) while the old DS record is still published, DNSSEC-validating resolvers will fail your domain until the DS record is gone and the change propagates.
If your DNS is hosted with CanSpace
The Manage DNSSEC page publishes a DS record you already have from your DNS provider. If your domain's DNS is hosted on our nameservers, the zone needs to be signed on our side first, which we do for you. Just open a support ticket asking us to enable DNSSEC, and we'll generate the keys, publish the DS record, and confirm when it's active.
Other domain extensions (.com, .net, and more)
The idea is the same for other extensions: your DNS provider signs the zone, and the DS record is published at that extension's registry. If you see a Manage DNSSEC option on your domain's Manage menu, the steps above apply. If you don't, open a ticket with your DS record values and we'll publish them for you. Some registries publish the DS record within minutes; others can take a day.
Verify DNSSEC is active
After you add the DS record, give the registry time to publish it (usually a few minutes, up to 24 hours), then check with any of these:
- DNSViz - enter your domain for a visual map of the DNSSEC chain. All green means it's working.
- Verisign DNSSEC Analyzer - a detailed text report.
- From a terminal:
dig +dnssec yourdomain.cashould return anRRSIG(signature) record, and theAD(Authenticated Data) flag should be set in the response header.
Related articles
- How do I manage DNS entries?
- DNS record types explained
- DNS propagation - what it is and how to check it
Still stuck? Open a support ticket


