WHM (WebHost Manager) is the server-wide control panel for your VPS or dedicated server. It's where you create cPanel accounts, view server resources, manage DNS, access logs, and configure server-level settings.
root). cPanel is for website administration (one per hosted site, accessed with that site's username). Think of WHM as the building manager and cPanel as the office keys for each tenant.Step 1: Find your credentials
When your server was provisioned, we sent you a New Server Information email with your hostname, IP address, and root password. If you can't find it, open a support ticket and we'll resend it.
Step 2: Open WHM in your browser
Go to:
https://your-server-hostname:2087
Or if your DNS isn't set up yet:
https://your-server-ip:2087
Step 3: Log in
You'll see the WHM login page:
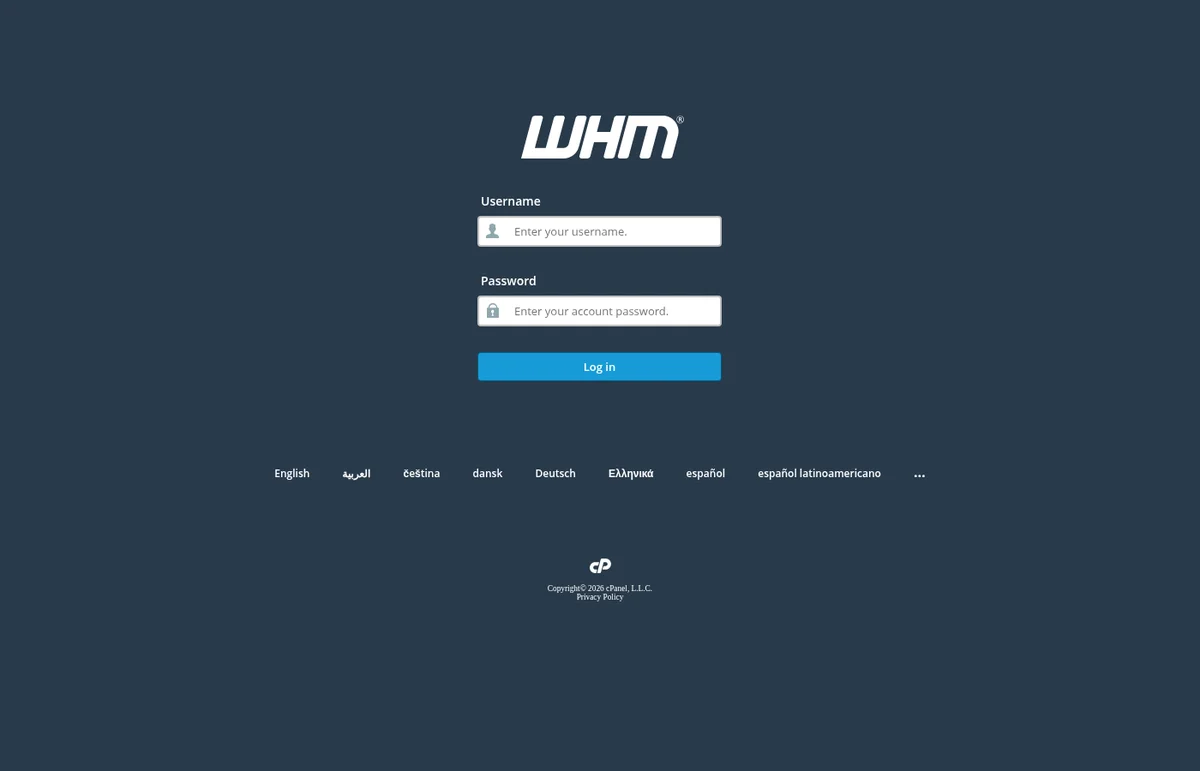
- Username:
root - Password: the one from your setup email
Click Log in.
Step 4: You're in
After logging in, you'll land on the WHM home page:
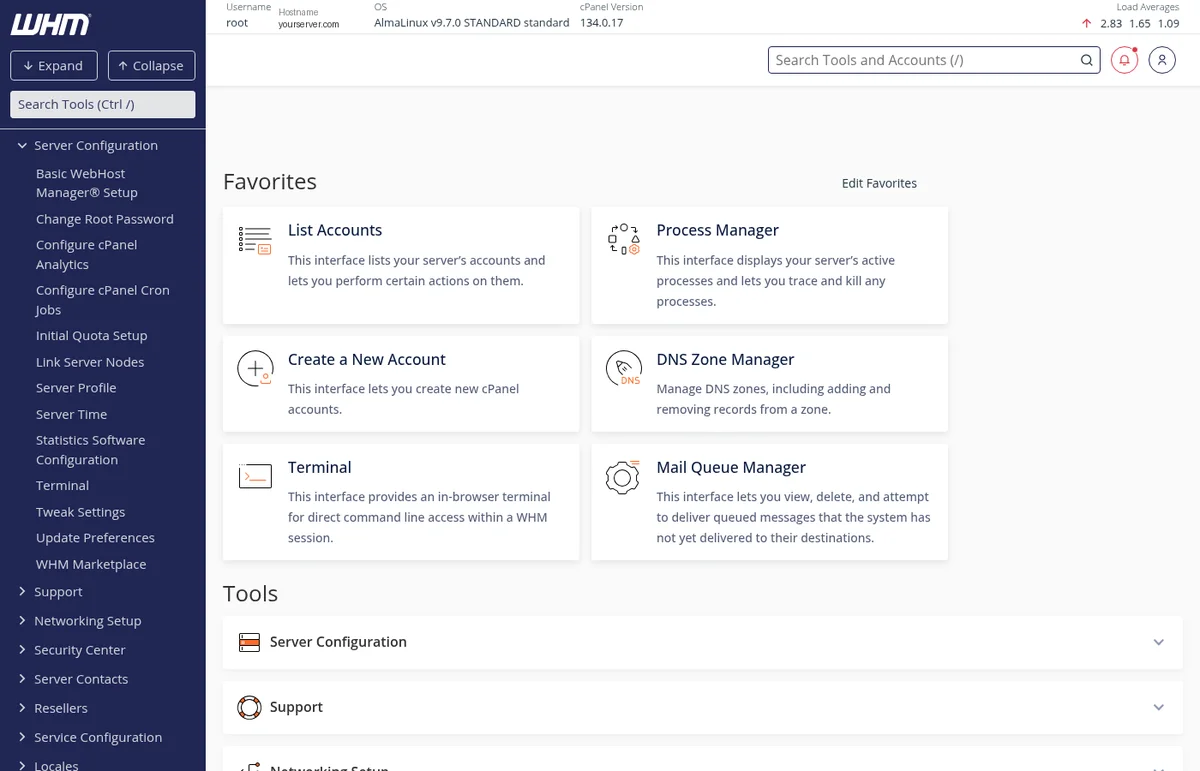
A quick tour:
- Top banner - shows your username, hostname, OS version, cPanel version, and current load averages.
- Favorites panel - quick-access tiles to the most commonly used tools. You can customize this via Edit Favorites.
- Left-side navigation - all WHM tools organized into sections like Server Configuration, Account Functions, Security Center, DNS Functions, and so on.
- Search bar - if you can't find a tool, type its name in the search box at the top or in the left sidebar.
Changing your root password
Your first step after logging in should be to change the root password we assigned. Go to Server Configuration → Change Root Password and set a new one you'll remember. Store it somewhere secure.
Trouble logging in?
- Connection timed out or connection refused
- Your IP may have been blocked by the firewall after too many failed attempts, or your ISP may be blocking port 2087. Check from a different network (e.g. your phone on cellular data). If the block persists, open a ticket with us and we'll unblock your IP.
- Password doesn't work
- Double-check your setup email for the exact password. If it still doesn't work, open a ticket and we'll reset it for you.
- SSL certificate warning
- Normal the first time if you're using a brand-new hostname. Proceed past the warning - you're still connecting to our server.


